House Numbers Installation Instructions
Please walk through the installation process below to help you decide which accessories to order. Need assistance? Order online or call us at 818-503-9443 (Monday-Friday, 8:30am-5:00pm Pacific Time).
Accessories Overview
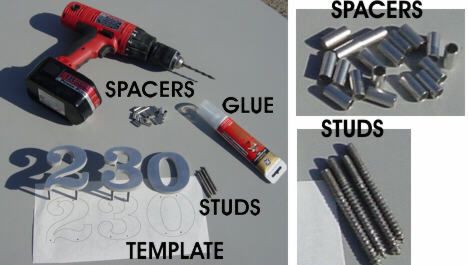
Review the required and optional hardware: mounting studs, spacers, and adhesive.
Step 1: Level & Tape the Template
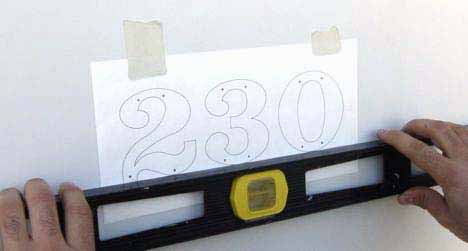
Place the full-size template on the wall where you want the numbers installed, verify level alignment, and tape it securely to the surface.
Step 2: Drill Holes for Studs
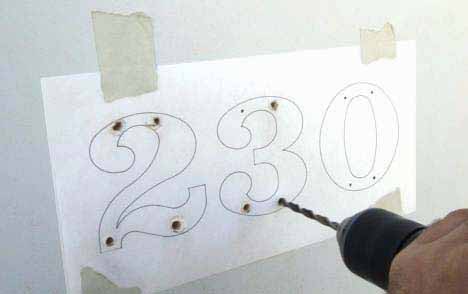
Drill holes into the wall for the mounting studs at the indicated template marks. Once all holes are drilled, carefully remove the paper template.
Step 3: Apply Glue & Mount Numbers
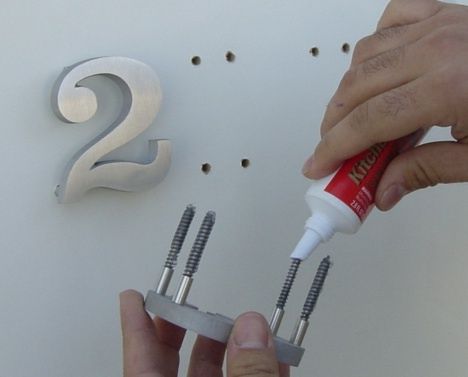
Fill each hole with structural adhesive, coat the threaded studs with glue, slide optional spacers onto the studs for floating depth, and push each number firmly into the wall.
Step 4: AND VOILA! Completed Installation
Your architectural address numbers are securely mounted with beautiful, clean alignment.